Sunday, March 25, 2012

Making Nitric Acid

A lot of recipes I've come across require a few drops of nitric acid. Because I have had a difficult time finding a source to buy the acid from and it looked fun I decided to try making some.

The video I linked to is from my first attempt which produced 1 drop of nitric acid. The coils in my condenser didn't allow the acid to reach the collection bottle. The second attempt produced about 50ml's of fuming nitric acid.

I will admit I am a very novice chemist, so my grasp of stoichiometry is weak and I just followed the proportions given in the video. Thankfully the internet helped. I used a chemical equation balancer to get
NH4NO3 + H2SO4 = HNO3 + NH4HSO4
That reads that I need 1 mole of ammonium nitrate (80 grams) and 1 mole of sulfuric acid (53 ml) will react to produce 1 mole of nitric acid (42 ml) and a mole of ammonium bisulfate (which I don't care about)

Thanks WolfrmAlpha!

So what I learned:
  • stoichiometry means less waste! Turns out I used twice the amount of sulfuric acid than I needed.
  • I know how much acid to expect so I have a better idea when the reaction is completed.

Thursday, May 26, 2011

Alternative Gum Bichromate Pigments

5

I've been playing around with gum bichromate a lot. Its such a cool medium with massive potential for experimentation. After the first print I knew I wanted to make a cohesive body of work with it, but there is so many variables to try that I didn't feel right making work with it until I got to know it better. So most of the last 6 months has been directed to figuring out what will and what wont work as a pigment.

I've got 2 recipes ready for sharing after the jump.

Sunday, May 15, 2011

My darkroom

5
My Darkroom is in the basement of the house my friends and I are renting, it occasionally floods after a rainstorm. The set up cost was about 50 USD. The light proofing comes from tinfoil on the windows, and the 'walls' of the darkroom are 3mil contractor plastic. The basement is super gross so after I hung the plastic I cleaned the floor with a vengeance.

Wednesday, March 2, 2011

Poitevin's Direct Positive Process: Part 2

0310010940
I've spent another afternoon in the laboratory trying to get a readable print with Poitevin's process. I posted a plea for help on apug but no luck so far. To advance any further than I have with my efforts I'm going to have to suck it up and buy A Treaty on Photography which will hopefully have some more tips. The failed procedures after the break.

Sunday, February 27, 2011

'Poitevin's Direct Positive'


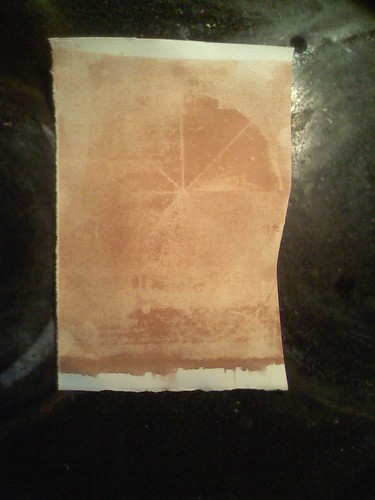
Its a snow day here in maine, and i had the required chemicals around so I just gave the formula found
here a go. The source appears to be similar to this version except at appears to be leaving out the gelatin. After a 30 min exposure and a water development i have something of an image (really just some recognizable dark shapes visible against the staining). My second attempt was with a stoffers step wedge and is found at the start of this post.

Attempt 1: Result Failure
Mix the two ingredients together then brush apply to a gelatin sized printmaking paper (I used bfk white).
1/4 inch cube of artist grade liquid watercolor paint
5ml of sensitizing solution

Sensitizing solution:
5 grams ferric chloride
1.5 citric acid 50 ml water
(remember to add acid to water! I forgot and got an awesome steam puff)

Exposed for 30 minutes with negative and test wedges, then developed in hot running water.

Attempt 2: Result Failure
Make a 5% gelatin solution by adding 1 packet of knox gelatin (about 7 grams) to 100 ml of cold water. Let swell for 15 minutes then add cold water to bring the solution to 150ml water. Bring solution to 140* f and maintain the temperature until all the gelatin is disolved. Add 1/4" cube of pigment to the gelatin and stir until an even mixture is created.
Float/brush apply to paper, then while wet float on the same sensitizing solution found in attempt 1.

Expose with test wedges for 30 minutess and develop in hot running water.


Tuesday, November 9, 2010

From the Archive (.org)

Picture 4

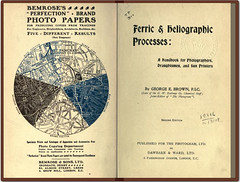
Heres a sweet historical book titled Ferric and heliographic Processes about the cyanotype process. Its available in its full format on archive.org. Its on my to read list. Source

Sunday, October 3, 2010

Test Subjects

pipe

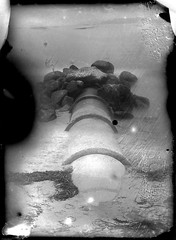
This quarter plate was taken at the beach. I developed the plate emulsion side down, thus the scratches. Its hard to tell which way is up with out a notch guide. I think I might start cutting them into my plate.

When I'm shooting film for tests- content isn't so important. I try to keep it interesting enough so I don't die of boredom processing the test.